WiFi
Jump To: Support > KB > ThinIT > WiFi
Manual WiFi configuration on ThinIT
ThinIT supports 48-bit WEP and WPA-PSK. 802.11X is not supported
- Right-click on desktop and pick Configure ThinIT...:

- Alternatively, click on the Configuration button (this will only show if you have sessions configured):

- You will be asked for the system password; by default this is empty:

- Expand Network settings and double-click on Wireless network settings (or select it and click OK):

- Next double-click on Configure SSIDs and priority:

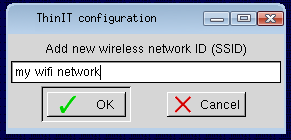
- Enter your SSID when prompted:

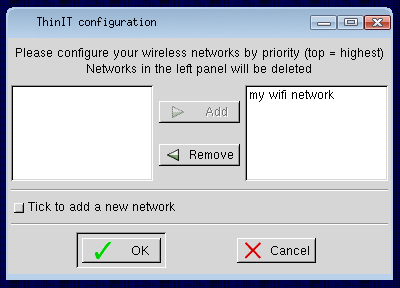
- Once you have at least one SSID configured, the Configure SSIDs and priority option wlil show you a screen where you can remove and alter the priority of your SSIDs. To add another network, tick the Tick to add a net network box before clicking OK:

- Once you have configured your SSIDs, click OK to return to the Wireless configuration menu and pick Set WPA passphrases:

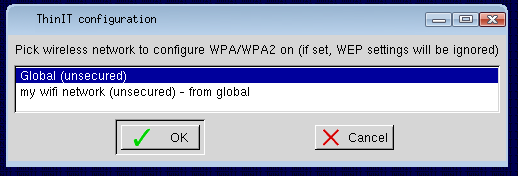
- Select the network you want to set a passphrase for and click OK. You will then be prompted to enter the passphrase:

- Repeat until you have entered all your passphrases, then click Cancel to return to the main Wireless configuration menu
- Choose Re-associated with access point to restart the WiFi association process with the new settings
- To view the WiFi status pick Show status and look at the
wpa_statelink. When set toSCANNINGit is still searching:
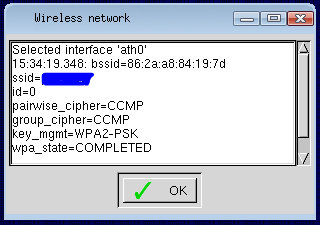
- When connected, the status page will say
wpa_state=COMPLETED:


