Jump To: Support > KB > NetManager > Network > Gateway
Setting the default gateway
The default gateway (a.k.a. default route) is used when the NetManager needs to communicate with a network that is not local, i.e. it is usually used to speak to the Internet. It will usually be the IP address of your router.
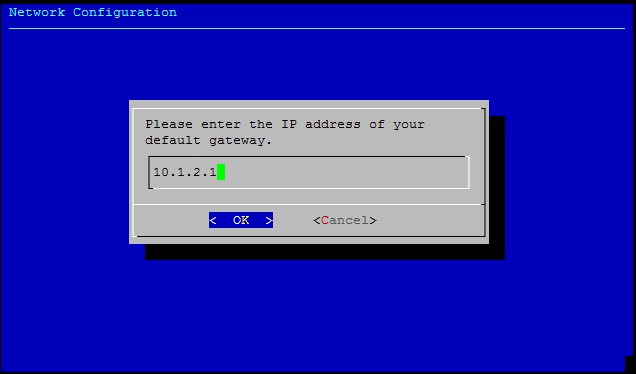
The default gateway needs to be configured from the Console Menu so that connectivity is not interrupted. Go to option N (Network configuration) followed by option R (Set default gateway). Enter the correct gateway address and hit Return. Changes will be made immediately. Do not enter the IP address of the NetManager itself (yes, people have done that before!).

When changing settings, you may find it useful to have a copy of the current settings which can be seen by going to System > Settings in webadmin. Also, multi-configuration switching will allow to backup the current settings in case you need to revert.
Access from the gateway network
If you have a multiple cards which are attached to different IP address ranges, then the NetManager will route traffic between those ranges. Alternatively, you can use NAT to hide your internal ranges from the outside. Generally, traffic into the NetManager will be firewalled. By default, if you have multiple cards (i.e. client computers are not on the same range as your router), access will not be allowed into the NetManager from the router side of the network (i.e. the gateway network will not be Trusted). This is because there will usually be no client computers on that network and any other devices may not be under your administrative control. If however, you do have client computers on the same range of IP addresses as your router (this may be the case if using VLANs, for instance), you should enable access from the gateway network.
To do this, go to the Console Menu. Pick option N (Network configuration) followed by option G (Allow access to gateway network). Pick the same option again to disable access.


