Jump To: Support > KB > NetManager > Email > Aliases
Editing aliases and distribution lists
Aliases and distribution lists are configured in Email > Aliases in webadmin.
Current aliases
Current aliases are shown in a table.

The recipients are colour-coded by type, the key is displayed to the left of the page: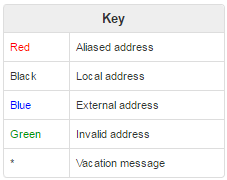
Adding new aliases
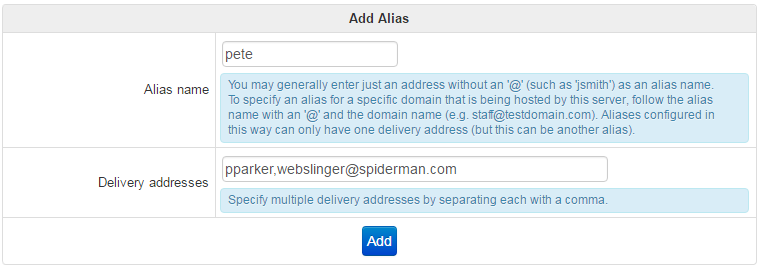
To add or edit an alias, enter the alias name in the top box (best to stick to lower-case letters, numbers, dot, dash and underscore - definitely no spaces) and the recipients in the bottom box. You can enter multiple recipients by separating with a comma.
Usually the alias name will not contain an '@' symbol. This will match all domains configured on the server (e.g. jsmith will be delivered to by jsmith@firstdomain.com as well as jsmith@seconddomain.com).
If you wish to distinguish between the domains (i.e. jsmith@firstdomain.com and jsmith@seconddomain.com should be delivered to different mailboxes), then enter the full email address including domain, but please note that you may only enter a single destination address in this case.
Searching
To search for all aliases that will deliver to a certain user, enter their name and click Find Recipient: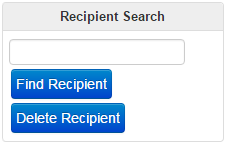
Just the subset of aliases that contain that user will be displayed: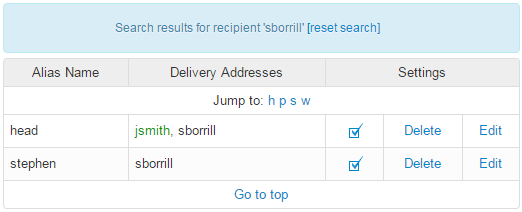
Options
- Show system aliases - allow inbuilt aliases such as postmaster and root to be displayed and edited. Usually these are hidden for neatness
- Display one recipient per line - alters how aliases are displayed
- Do not check external addresses - normally external addresses are checked for validity so that typos can be spotted. This can take a small amount of time (it is only noticeable if a recipient has a misconfigured system).


