Jump To: Support > KB > Citrix > XenServer > XenCenter
Connecting XenCenter to a Citrix Hypervisor (XenServer) server or pool
Installation
Download the latest version of XenCenter (8.2.2 at the time of writing) from Citrix Hypervisor download page. You will need a Citrix account to be able to access it.
To install XenCenter you will need Microsoft .Net 4.8 installed (offline installer here). When installing XenCenter, at the Custom Setup window you can disable all options (including the Citrix Hypervisor Health Check Service - you probably only want this installed on one computer):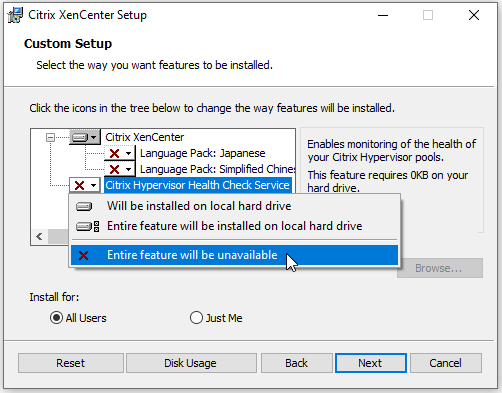
Using XenCenter for the first time
The first time that XenCenter is started it will need to be connected to either an individual Hypervisor host or the master member of a pool. This connection will be stored in the user's profile.
Start XenCenter by choosing it from the start menu: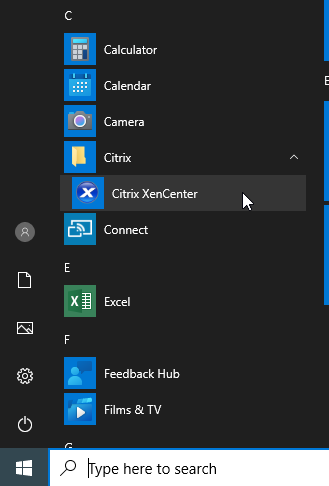
The first time you run it, you will be asked if you want to check for updates periodically. This is useful to know, so pick Yes: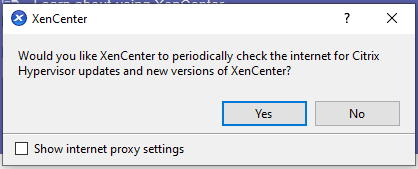
Pick Options... on the Tools menu: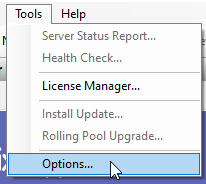
Select Console on the left and then untick the Automatically switch to the Remote Desktop console when it becomes available, then click OK. This will allow multiple users to view a VM at once.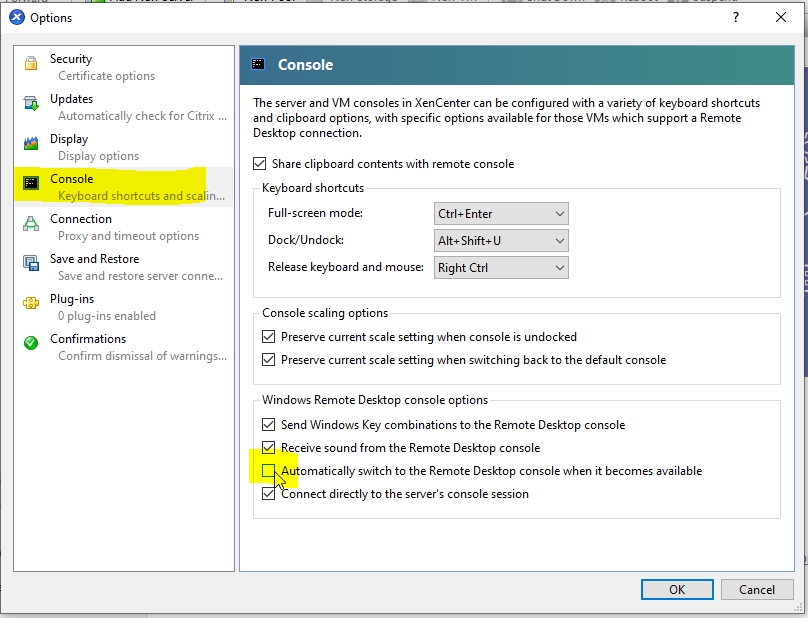
Connecting to a server or pool
Click the Add New Server button on the toolbar. This will bring up a dialog box that will let you enter the IP address, username, and password to connect to a Hypervisor host. The username should always be root: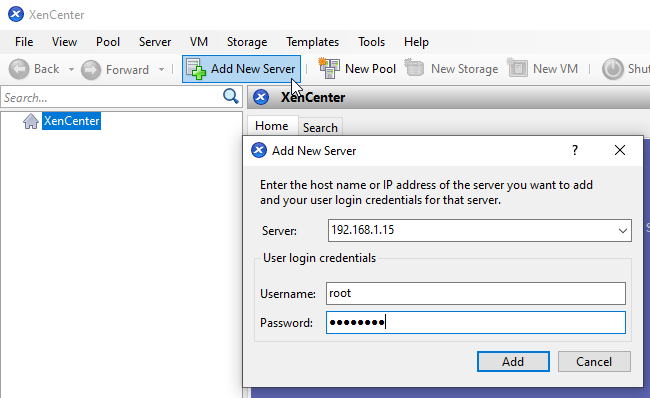
If the server you have connected to is a pool master, then you will be connected to the whole pool of Hypervisor hosts: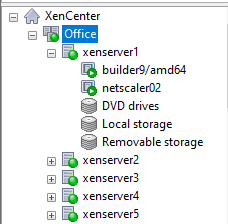
If you attempt to connect to a member which is not the master, you will be asked if you wish to connect to the master, so click Yes:
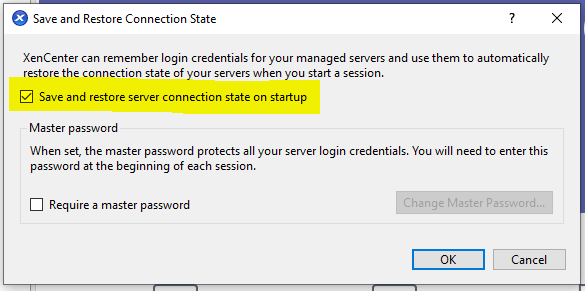
The first time you connect to a server, you will be asked if you wish to save the login details so that you will be automatically connected next time: