XenDesktop-UpdateMCS
Jump To: Support > KB > Citrix > XenDesktop > UpdateMCS
Update machines managed by Machine Creation Services
Based on XenDesktop 7.6 and XenServer 6.5
- Locate your master machine for the operating system being updated within XenCenter. This will be called something like xdappsbase or win7base
- Boot the relevant virtual machine and log in as administrator
- Make the required changes (e.g. Windows updates)
- Once all updates are complete, shut down the VM. Please note the following if the image uses personal vDisks:
- You should shutdown using the Update personal vDisk program from the menu to update the personal vDisk inventory:

- The machine will automatically shutdown once the inventory update is complete:
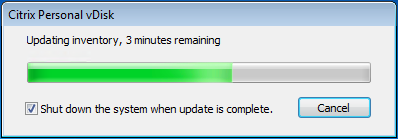
- Shutting down from the Start Menu should also automatically start the update inventory process, but it is safest to explicitly do it.
- If rebooting while doing updates, the update inventory window may open and stop the reboot. If so, you can cancel the update inventory window, but remember to choose Update personal vDisk when all the updates are complete
- You should shutdown using the Update personal vDisk program from the menu to update the personal vDisk inventory:
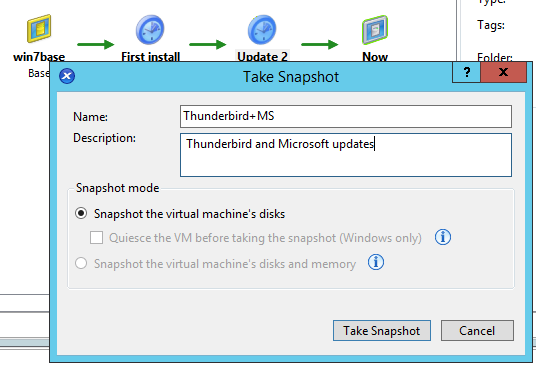
- Snapshot the VM within XenCenter using the Snapshots tab on the VM:
- Launch Studio (on one of your XenDesktop delivery controllers)
- Pick Machine Catalogs in the left-hand panel and locate the group machines you wish to update. You should ensure that the Machine type (Desktop vs Server OS) is correct and that the catalog is provisioned using Machine creation services:
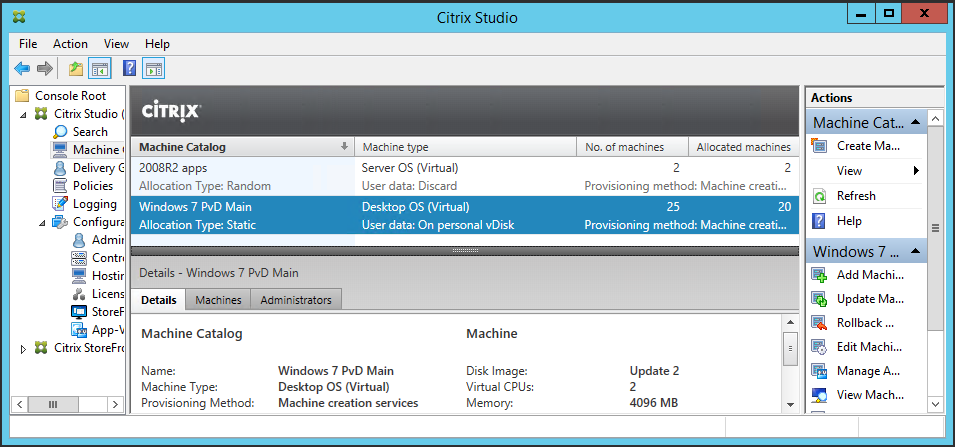
- Select Update Machines in the right-hand panel
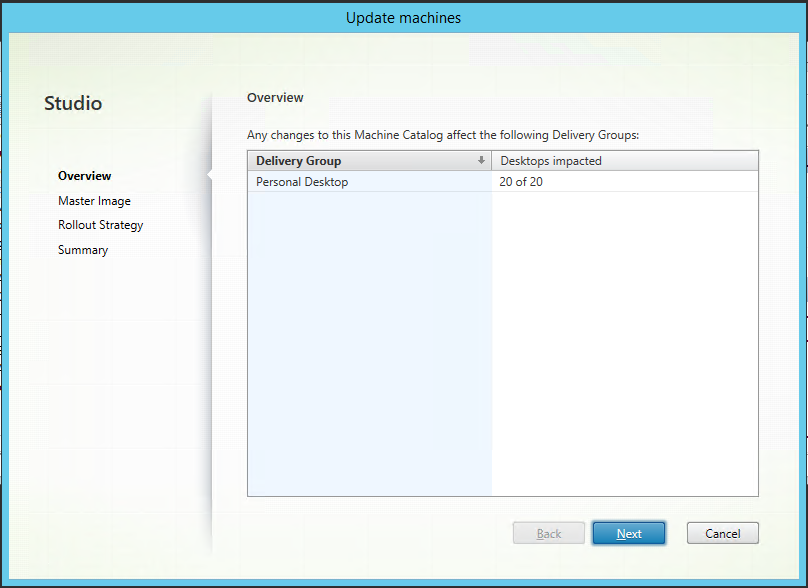
- The update window displaying number of machines affected will be displayed. Click Next:
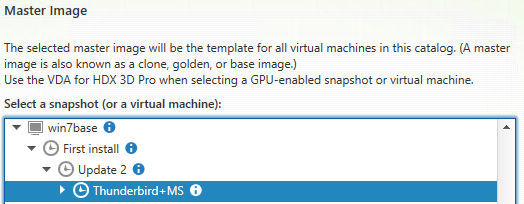
- Next you need to locate the snapshot to update to. First find the VM name in the list, then click the right-facing arrow to expand out the list of snapshots. Repeat this down the snapshot chain until you have located the snapshot you want. Select this snapshot and click Next:
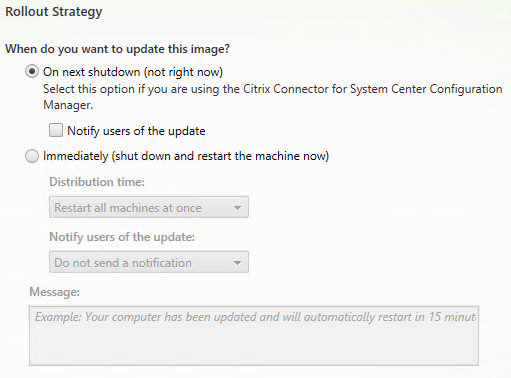
- After updating the image, you must restart the VMs using Studio for the changes to take effect. Therefore you must specify when to update/restart the VMs. If machines are in use, users can be warned up to 15 minutes in advance and the restarts can be staggered up to 5 hours apart. Unfortunately, you cannot specify a delay before the restarts begin to happen. Therefore, if the machines are in active use, picking On next shutdown (not right now) is probably best. However you must remember to reboot the machines from within Studio, using XenCenter is NOT good enough. Click Next:
- A summary of the changes will be displayed. If OK, click Finish:

- The chosen snapshot will be distributed to all the machines within the catalog. A progress bar will be displayed within Studio behind the machine catalog name. Do not restart any VMs until the process is complete (progress bar disappears). Studio will remove the start/shutdown options while this is happening.:

- To enable you to safely restart VMs, you can put them in maintenance mode to stop users logging on. This is particular useful in the case of application servers (Shared Server OS). Enabling maintenance mode will not affect users already logged on, but will stop new connections being made. Therefore you can enable maintenance mode, wait for users to log off, restart (from within Studio, remember) and disable maintenance mode.
- To see the machines within a machine catalog so that you can enable/disable maintenance mode, select the machine catalog after picking Machine Catalogs in the left-hand panel and click View Machines in the right-hand panel (or just double-click on the machine catalog). In the following you can see a catalog consisting of 2 application servers. One is in maintenance mode but still has 3 users connected. The other is accepting new connections:


